Hey everyone, I hope you are having an amazing day today. Today, I will show you a way to prepare a special dish, no knead rustic bread. It is one of my favorites. For mine, I’m gonna make it a bit unique. This will be really delicious.
No Knead Rustic Bread is one of the most favored of current trending foods in the world. It is simple, it is quick, it tastes yummy. It is appreciated by millions every day. No Knead Rustic Bread is something that I have loved my entire life. They are nice and they look fantastic.
To begin with this particular recipe, we have to prepare a few ingredients. You can have no knead rustic bread using 4 ingredients and 11 steps. Here is how you cook it.
The ingredients needed to make No Knead Rustic Bread:
- Make ready 3 cups all purpose flour
- Prepare 1 3/4 tsp kosher salt / 1 1/2 tsp cooking salt
- Prepare 1/2 tsp instant yeast or rapid rise yeast
- Make ready 1 1/2 cups water - room temperature
Steps to make No Knead Rustic Bread:
- DOUGH PREP: In a large mixing bowl add 3 cups all-purpose flour or bread flour. If all you have is bleached flour, then use it. If you have bread flour, use it.
- Add 1/2 teaspoon instant yeast. (Note: IF you do not have instant or Rapid-rise and you only have regular active dry yeast, THEN proof the yeast before you use it by mixing the yeast with 1/4 cup warm water. Let it set for 5 minutes then mix the yeast in with the water).
- Add 1 3/4 teaspoon kosher salt to the flour. If you only have table salt, you may want to reduce the amount of salt by 1/4 – 1/2 teaspoon. Stir the dry ingredients together.
- Pour in 1 1/2 cups of water. I used room temperature tap water.
- Stir/whisk until a chunky, thick dough forms. Don’t over mix. If it needs a little more water, add a few more tablespoons, just enough to get it barely wet throughout. It’s not gonna look pretty but its ok. Cover the mixing bowl with plastic wrap and let it rest for 12-18 hours at room temperature. Overnight is ideal. Dont worry abt the time proofing. I Prepared my dough 8pm. Baked the next day, noon.
- PREP FOR BAKING: When you’re ready to bake, preheat the oven to 450°F (200-230°C). Then, Pre heat cast iron Pot or any oven safe pot/pan with lid (or similar) in the oven for about 30 minutes. Note: anything that can take the heat that has a lid or is tightly covered will work. The idea is to create a steam oven inside the pan to produce a nice crisp crust. What ever the container is that you use, just make sure it can take temperatures up to 450° F (200-230°C depending on the oven)
- At this point, the dough should be big and puffy and pretty loose, with little bubbles in it. Gently scrape the dough out onto a well-floured surface. Note: the dough is super sticky, dont be tempted to add more flour. IMPORTANT: Do NOT Knead the dough. Just Flour your hand and gently smooth the dough. Gently form the sticky mass of dough into a round ball.
- Look closely at the dough and you will be able to see a large air bubble in the lower right side of the dough. That’s good. We don’t want to knead out the large air holes. We are making artisan bread and want many large air holes.
- Once smoothed, set this dough on a piece of parchment paper to make it easier to lift dough in & out of the pot. Cover with plastic/cling film while your pan heats up.
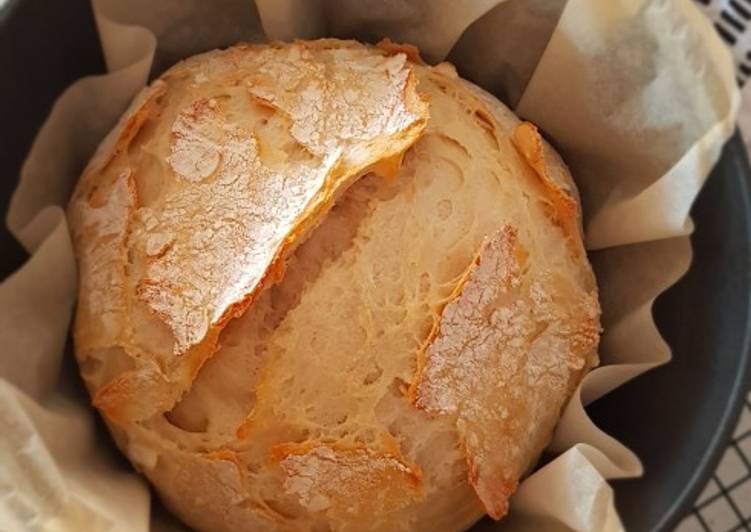
- BAKE: Remove the plastic from the dough. Lift the dough and parchment together into the pan so the parchment lines the bottom of the hot pan (be careful not to touch the pan since it’s very hot). Bake, covered, for 30 minutes. Remove the cover and bake another 10-15 minutes to get the exterior nice and golden brown and crispy. Done.
- Alternatively, you can also try adding flavours to the bread.
So that is going to wrap this up for this exceptional food no knead rustic bread recipe. Thank you very much for reading. I am sure you can make this at home. There is gonna be more interesting food in home recipes coming up. Remember to bookmark this page in your browser, and share it to your loved ones, colleague and friends. Thank you for reading. Go on get cooking!